Diamond Certified Experts: Home Maintenance How-Tos, Volume 2
While some maintenance tasks should only be handled by a professional, you might be surprised by what you can do yourself. Photo: A Reliable Handyman (2017)
Previously, we published a compilation of DIY home maintenance how-tos provided by Diamond Certified Expert Contributors. Here’s another batch of useful home maintenance how-tos from the pros:
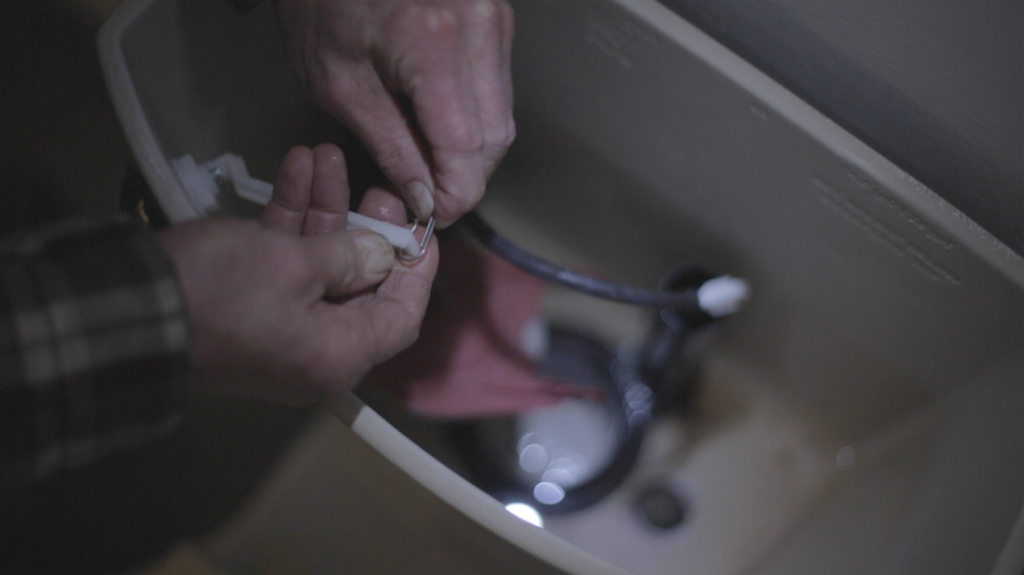
How to Fix a Running Toilet: Gifford Teeple of A Reliable Handyman
An intermittently running toilet may seem like a mere annoyance, but it’s actually wasting water and costing you money. Typically, this issue can be resolved by replacing the “flapper” that covers the fill valve at the bottom of the tank—an easy, no-tools-needed task that just about anyone can do. Follow these steps:
- Turn off the water to the toilet at the shut-off valve, which is located on the wall near the toilet. Take the lid off the tank and flush the toilet to drain it; this will prevent water waste and allow you to work without getting wet.
- Remove the old flapper by unhooking the chain from the flush lever and lifting the flapper off of its hinges.
- Take the old flapper to your local hardware store and find a new one that matches it. This is important, since there are many different kinds of flappers.
- Install the new flapper. Simply replace it the same way you removed the old one and reattach the chain to the flush lever. Turn the water back on, replace the lid and do a test flush.
If you have any issues with the toilet not flushing correctly, you probably need to adjust the length of the chain by hooking it lower or higher on the flush lever. If the running persists, there may be other factors at play, in which case you should call a plumber or handyman.
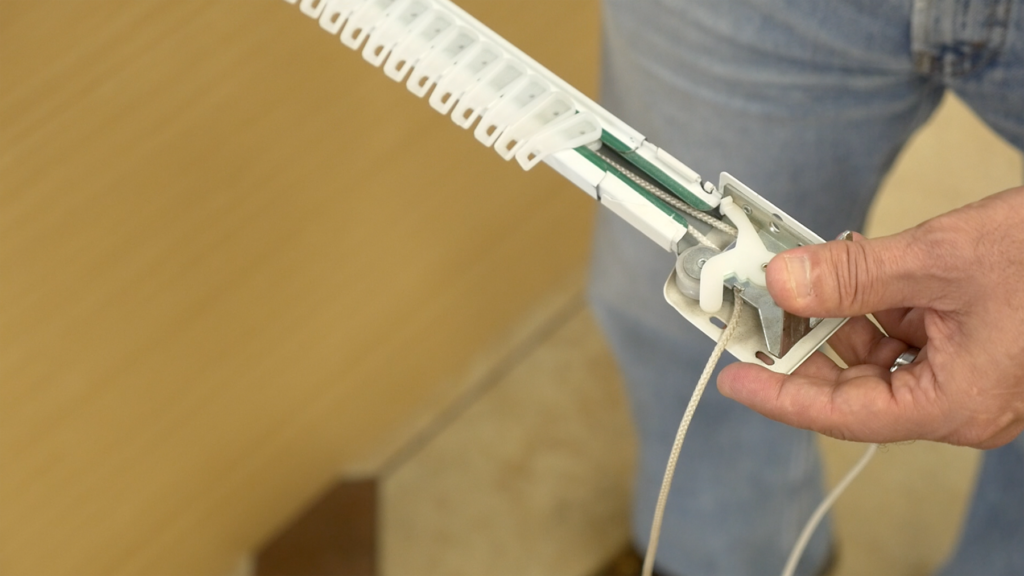
Broken curtain rod carriers can be removed and replaced using the quick-release arm at the end of the rod. Photo: PKS Interiors (2017)
How to Replace a Broken Curtain Rod Carrier: Peyman Sadigh of PKS Interiors
When a curtain rod isn’t functioning properly, it’s often due to one or more broken curtain rod carriers—small, plastic clips that hold the hooks upon which your curtains are hung. Fortunately, broken carriers can easily be removed and replaced using the following procedure:
- Remove your curtain rod from the wall and look on the backside to identify any broken carriers.
- To remove broken carriers, release the arm at the end of the rod and slide them out of the track.
- After removing the broken carriers, insert your replacement carriers.
- Once you’re finished inserting the new carriers, close the arm to lock them in and return the curtain rod to the wall.
Keep in mind that some older curtain rods have a little metal tongue instead of the release arm, but these basically have the same function—just depress the tongue and follow the same procedure as described above.
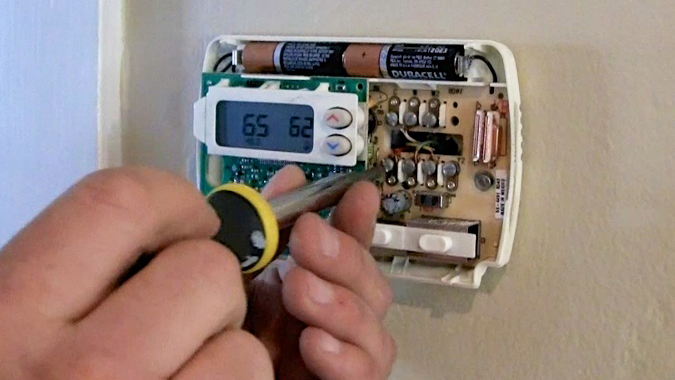
When attaching a new thermostat to the wall, be sure to reconnect the wires in the correct configuration. Photo: Valley Heating, Cooling and Electrical (2017)
How to Replace Your Thermostat: Cindy Faulkner of Valley Heating, Cooling, Electrical and Solar
Whether it’s broken or simply outdated, replacing your old thermostat with a programmable model is a cost-effective way to improve energy efficiency. After purchasing a model that’s compatible with your home’s furnace, follow these installation steps:
- Turn off the power to your furnace. Typically, there will be a switch located either on the furnace itself or on the wall next to it.
- Remove your old thermostat from the wall. As you do, pay attention to the color and configuration of the wires (i.e., R to red and W to white).
- Attach your new thermostat to the wall and reconnect the wires in the proper configuration.
- Put the cover on the thermostat and restore power to the furnace.
- Test your furnace to make sure it’s operating properly. If you have air conditioning, you should test this as well. Once you’ve determined everything is working properly, you can program your new thermostat to your desired setting.
Note: In addition to these guidelines, be sure to reference the thermostat manufacturer’s instructions to ensure both safety and correct installation.
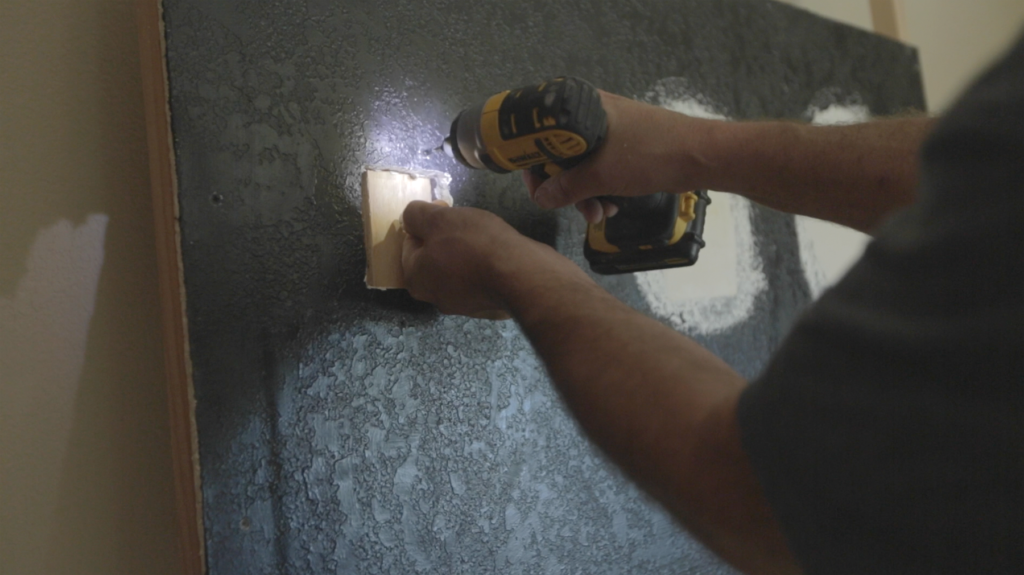
A piece of plywood serves as the backing for a new patch of drywall. Photo: Irwin Construction (2017)
How to Patch Drywall: Charles Irwin of Irwin Construction
Whether caused by a swinging door or another accidental source, drywall is easily damaged. Luckily, it’s also fairly simple to repair—just follow these steps:
- Cut out a square-shaped patch around the damaged area of drywall and remove it.
- Cut a piece of plywood that’s slightly thinner and a few inches longer than the patch of drywall you removed. Carefully place it behind the drywall and use a drill to screw it in at two points. This will serve as the backing for your new patch.
- Cut out a piece from a drywall sheet that matches the size of the patch you removed. Using your drill, screw this piece into the plywood backing and fill in the gap in the drywall.
- Use a joint knife to apply taping compound over the patched area.
- Apply drywall tape to create a bond between the taping and topping compounds, which will reduce the chances for movement and cracking. After applying the tape, allow the taping compound to dry.
- Apply your topping compound, which is like your drywall’s finish coat.
- Blend the topping compound with the rest of the wall by feathering the edges. A good tool for doing this is a folded-up plastic bag with one side taped to form a handle. Remember, drywall mud is water-soluble, so if you’re not happy with the way it looks, you can wipe it off with a sponge and redo it.


